WordPress on AWS - Part 2: Configure Domain using AWS Route 53
In this post I will describe how to register a domain with AWS Route53 and configure a simple routing policy to route traffic to your WordPress site.
Registering a domain on Amazon Route 53
Amazon Route 53 is highly available and scaleable cloud based Domain Name System (DNS). It translates name like www.sample.com to IP address like 10.0.2.3. Here are some simple steps to register your domain
-
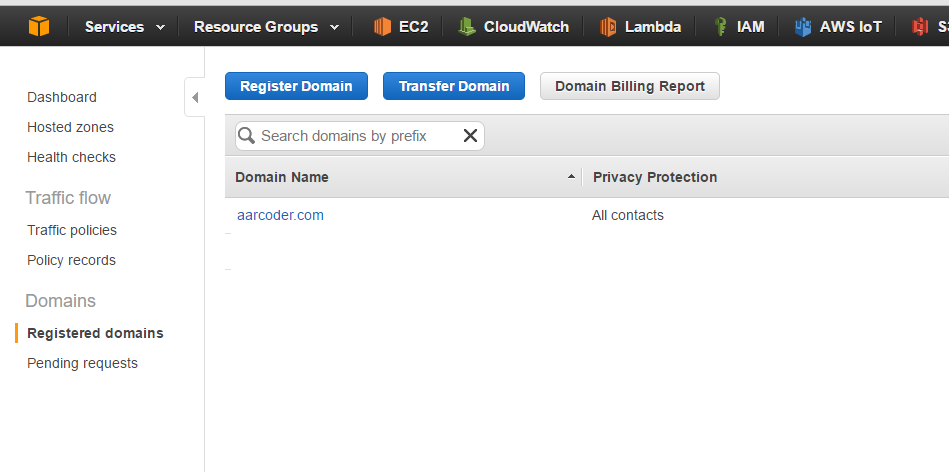
Open Route 53 console and navigate to Registered domains section. This section will show a list of previously registered domains. Click on Register Domain.
-
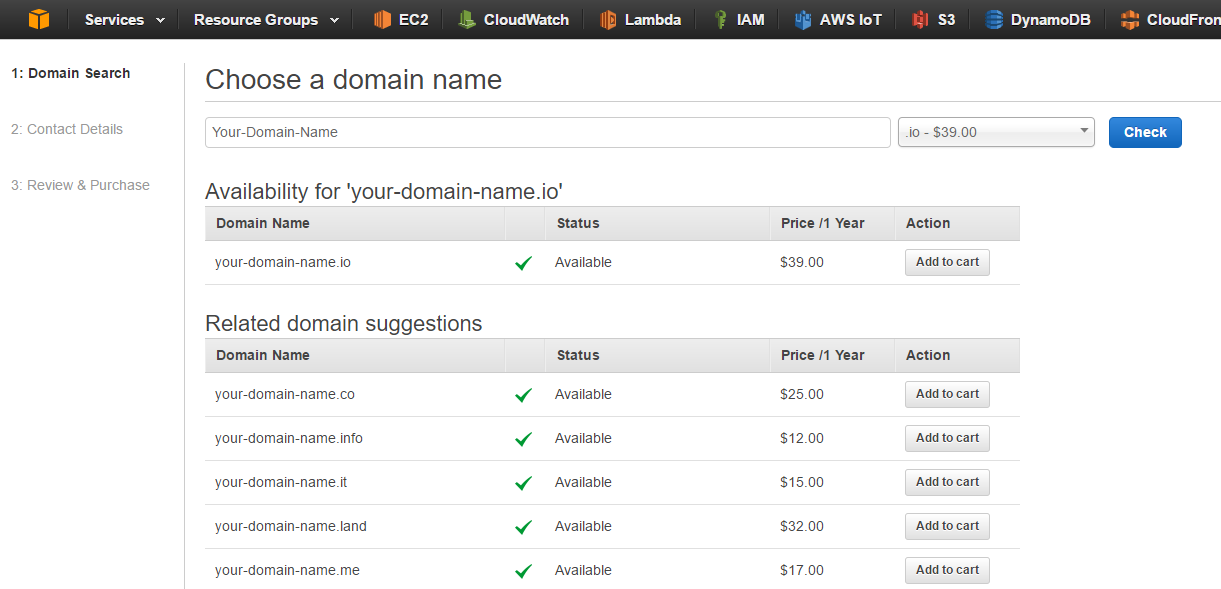
Check the availability of your domain name, add to cart and click Continue.
-
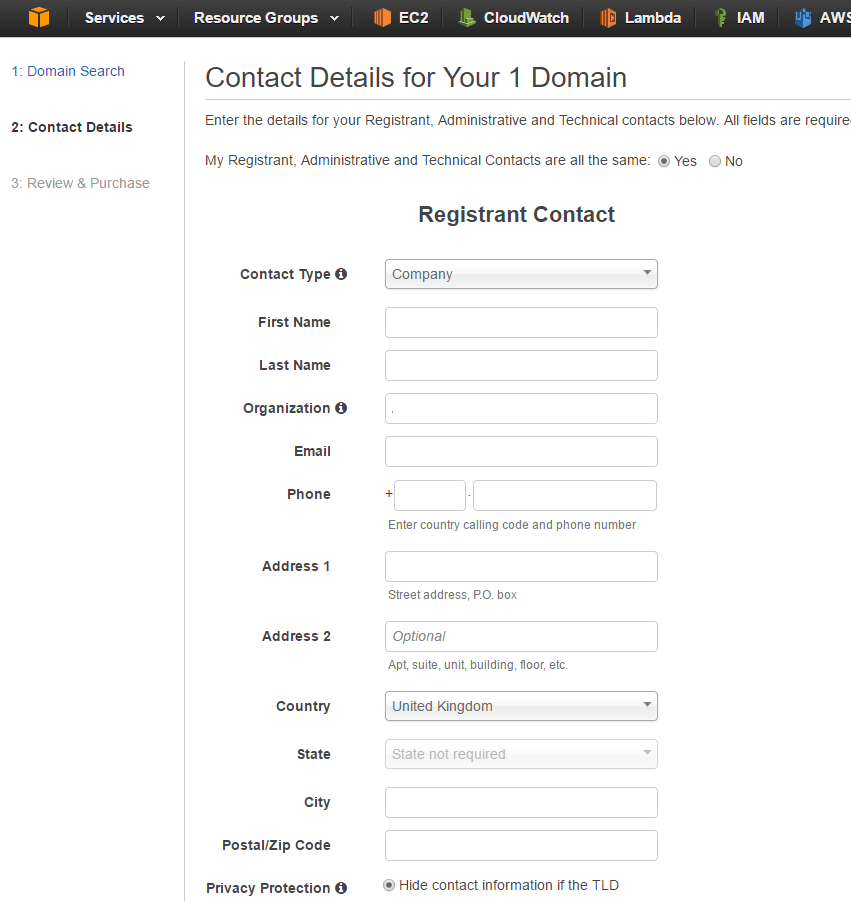
Fill the contact details form and click Continue
-
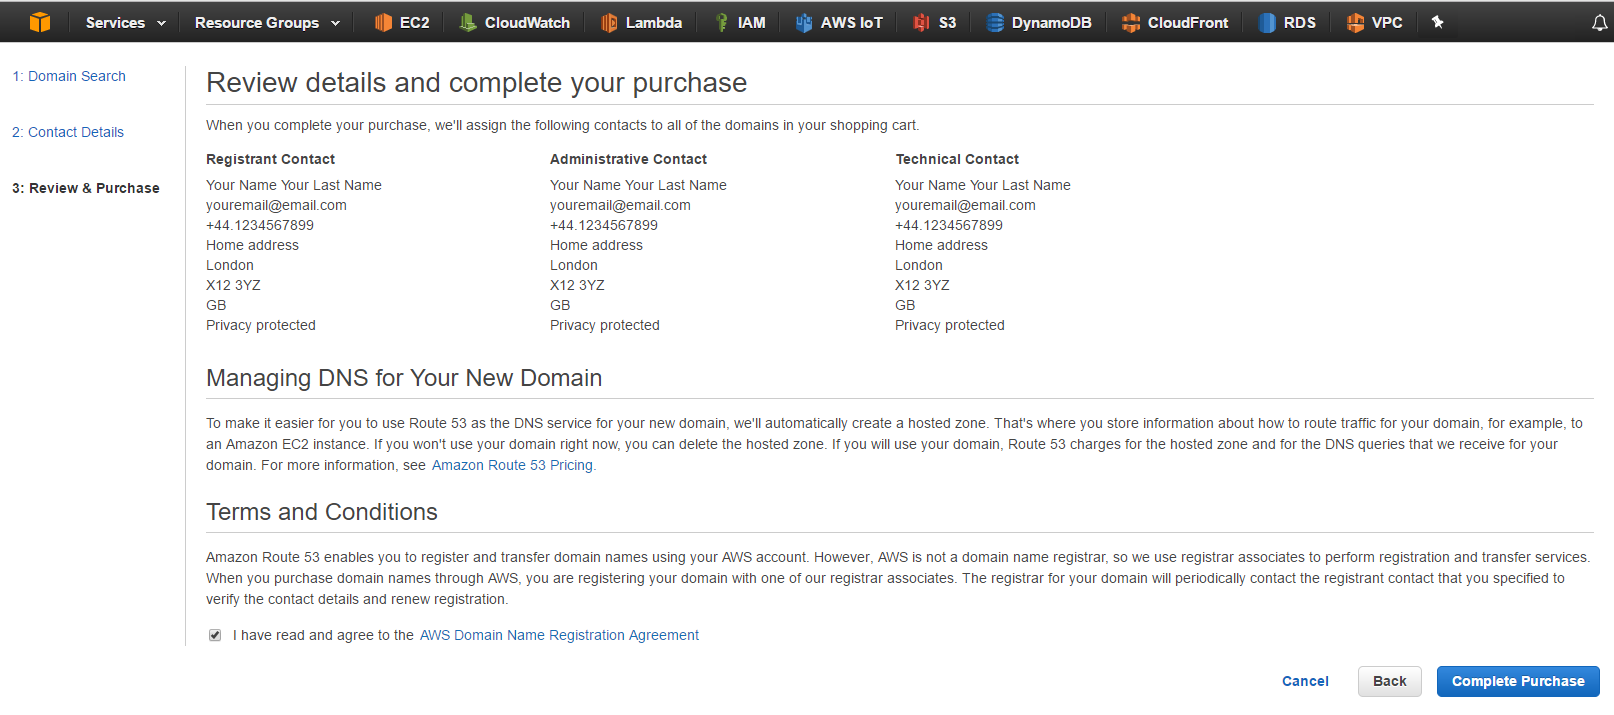
Review and complete the purchase
-
If the email address used while registering domain needs to be verified, registrar associate will send an email with a link to that address. Registrar will suspend your domain, if you didn’t verify your email address by clicking the link. Domain registration might take up to three days to complete. In my case it took around 20 minutes to register a domain
-
Check the progress of registration in the Registered domains section of Route 53. You will receive email from Amazon once the domain registration is completed.
-
Once the domain is registered, you can check the Hosted zone by navigating to Dashboard section. You will see Amazon has already created a hosted zones for your domain. NS record and SOA (Start of authority record) are created for any domain registered in Route 53.

Configuring Route 53 to route traffic to your EC2 instance
- Open the EC2 console and find the public IP address of your Amazon EC2 instance.
- Open the Route 53 console and navigate to Hosted Zones section.
- Click on your Domain Name, you will see list of configured hosted zones. Click on Create Record Set
- I have configured A record for aarcoder.com as naked domain. If your domain name is example.com and you want to us xyz.example.com to route traffic to your EC2 instance, type xyz in Name field. Select Type as A – IPv4 address, enter the public IP of your EC2 instance in Value and select Routing Policy as simple. Save the record set.
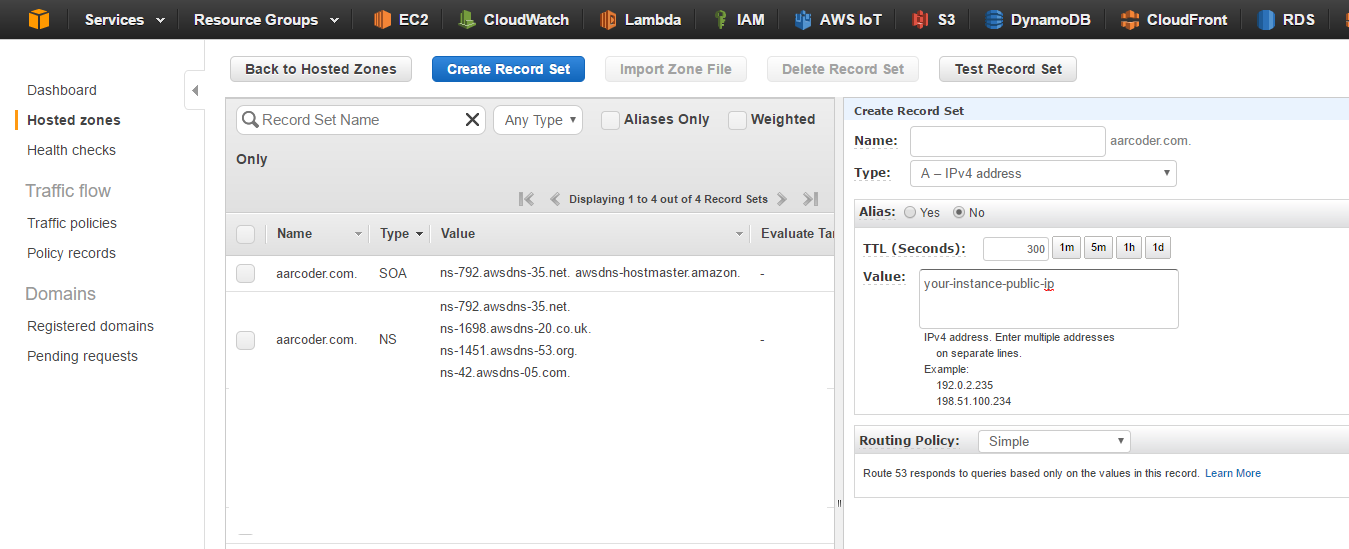
Record set changes are generally propagated to all Amazon Route 53 servers within 60 seconds. You will be able to route to your EC2 instance using domain name once propagation has completed.
In the next post Configure SSL for WordPress site I will take you through the steps for securing your WordPress site by configuring SSL on Apache Web Server running on AWS EC2 Amazon Linux instance.